Posts

Showing posts from August, 2018

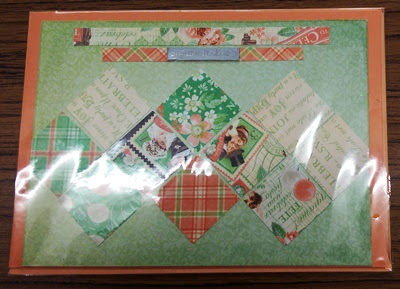
sample cards for the Mold II meeting
Image
Good evening everyone. I have a couple of sets of photos to show you relating to last nights Mold II meeting. This first set are some of the ones brought in by Madeline who was showing the ladies ideas for using up scraps in their card making. They have been placed inside poly pockets but I think they show up well even so. The squares are about 1" - 1.5" in size. Sorry about the shine. These two use paper trips. Madeline gave the tip of using the "ribbons" that are often down the sides of A4 die cut sheets. Such as Hunkydory A nice clean & simple sty;e with paper strips. Similar to the first sample. I do like the effect of those little squares in the diamond orientation. I particularly like this one - it uses my favourite colours. This la\st one shows the embossing that was done on the cards. The card is cut to size, the squares applied in required pattern, then run through in an embossing folder. Reall...
a recent card

Image
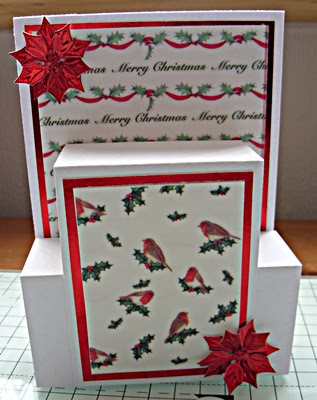
Good evening everyone I do hope you have all been having a very good bank holiday weekend. I haven't written a post for a couple of days, but I have done a little crafting.  In September I am showing the Mold II club the little card that has the double box on the front & folds flat for posting. So as I hadn't made one for a little while I thought I had better make sure I could still make it OK.  I decided on a Christmas one. Here is a front view & this is a side on view which shows the boxes. I have used up some pretty Christmas vellum paper I had in my stash While making this one I found a better way to describe the putting together so rewrote my notes.  I also spotted whilst having a look around the Internet another version where the small box front goes higher up than this one.  So I will have to look at that one now. I have also spent quite a bit of time on the Internet helping a lady research her family history - really enjoyed ...

projects photo page

Hi everyone I have just updated the above page with a photo for the Mold club September meeting. Back later

just chatting - again

Hi everyone. Yesterday I spent a little time watching some of the you tube videos on that Eclipse technique.  Definitely will be trying that in the next few days. Then I went to my "finished Christmas card" box & had a look at what I had left over from what I made last year, plus some partially made ones.  Then I made a decision that most of my cards this year would be with die-cuts - so I had a browse through my dies box for Christmas designs.  Yes! I think I know what I will be doing.  Well! until I see something else & change my mind.  😄 I hope to have a couple of hours crafting this afternoon - but I am also having my hair done - so that will take a chunk out of it.  So far I have been lucky & have not had a great hair loss - it has just got a little bit thinner.  Fortunately I do have a good head of hair so I hopefully won't lose it.  But it doesn't keep the nice finish that the hairdresser puts in for that long & I am ...

club pages updated

Just popping in to let you know I have updated the club pages & project photos page. Enjoy your evening. 'Bye

just chatting

Hi everyone, I hope you all had a great weekend. On Sunday we went to visit Gareth & Elayne  & to spend some time with our grandson Gwion, who is now walking & chuntering away to himself.  I don't think it will be too long before we get some definite words.  The day was rounded off with a nice take away to have all together. Yesterday was a fairly quiet day for me with the exception of putting my craft kit together for my Happy Stampers meeting in the evening. Last night we were given a demo on creating a card with the "Eclipse" technique.  I saw it some time ago & of course had been planning to try it out, but hadn't got around to it.  It was interesting to watch it being done live & the ladies showing it had prepared some items for us to have a quick go ourselves.  So now I am looking at doing it from scratch & getting it into your monthly programme for early next year. Later today or perhaps tomorrow I will get the club pa...

Happy birthday

Image
Birthday Greetings Today is August 20th & a Mold II club member has a birthday Have a lovely day Annette

two more workshop cards

Image
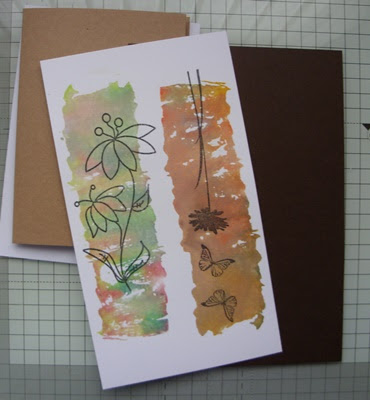
Good morning everyone. I had quite a good day yesterday in my craft room.  I did a little tidying up (especially the stuff I had left strewn across the spare bed), but then as I worked more stuff got put there - so it needs clearing again. Ah well. Whilst crafting I had a play with another album idea.  Then I settled down to put together 2 more of the items I had made & brought home from the Saturday workshop a couple of weeks ago. The two pieces I used were the long narrow pieces. This is what they looked like when I brought them home & showed them to you before. Here is the green shaded one made into a card. I haven't put a sentiment on it so I can use it for whatever occasion comes up. I added some bling on the stamens & after putting it together decided to "lift" the flower a little more & painted it with a green Distress Ink. I layered it onto black card then green card before attaching it to a white base card. This is the o...

mold photos - part 2

Image
Good morning everyone. Here I am with the second set of photos from Thursday's meeting of the Mold club, as promised.  They are of their  project which was working with canvases brought to us by Janet. During the weeks since the July meeting Janet created texture on the surface on a small (4" x 4") canvases for everyone.  She also provided a small rectangle to be played with as well. I did get to this meeting but had had a bad night Wednesday night so was too tired to concentrate, so I went along to watch & get inspiration, & I certainly got that. Here are the photos.  First the samples that Janet brought in to show us; The pink one in the middle didn't have the cogs on it - they were added during the evening. This is the canvas that Janet started in front of the ladies giving hints & tips & ideas. I love this rectangle - Janet made this after I had left. Ooh - I need to have a play with my piece. Thank you fo...

mold photos - part 1

Image
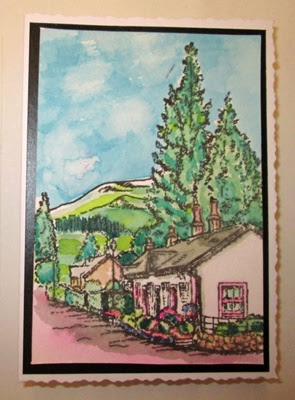
Good afternoon everyone. This afternoon I have the photos from the Show & Tell at last night's Mold meeting where the challenge had been set to create something --------------  "out of your comfort zone" Here are the photos; This is Janet's card. Janet doesn't "do" scenes.  Well, Janet you would never guess from this effort. So you do do scenes now. Joan doesn't do dark colours - but she is very pleased with this one. I think she also said that she doesn't do backgrounds. So both covered here Joan It is gorgeous. Joanna doesn't "do" glitter. Well, you made up for it here Joanna. Joanna used Glitter Kiss on the black embossed card & with her finger applied  the green shade around the edge of the layering card. It's a shame the photos never shows glitter that well. Lynn - well she doesn't "do" clean & simple. You do now Lynn!  That is really lovely. ...

a workshop card

Image
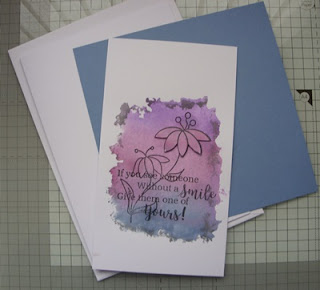
Good morning everyone. I really must stop closing my posts with "more tomorrow" - as I seem to skip days a bit more now than I used to. Anyway I am here this morning with one of the cards from the workshop I attended - now put together properly. This was how I showed it to you after the workshop. Here it is made into a card. I rounded the corners of the base white card, cut the blue card to a little smaller & rounded its corners as well.  Then I trimmed away the excess white card around the image & rounded the corners again. After putting the finished card photo here I remembered that I was going to put gems on the little round stamens of the flowers.  Will add those later. Will it need anything else - perhaps just a bow at the bottom - not sure. Tonight it is the August meeting of Mold club so I should have things to tell you about tomorrow. That's me for today. Back soon!!

my work at recent workshop

Image
Hi everyone I don't quite know where yesterday disappeared to, so didn't get photos of my work from the Saturday workshop photographed.  But I have them for you today. Some of my practice pieces. It took me a while to got a full print - that is no white spaces as you can see here. But they wont be wasted - there are a couple more that I made but I had already cut pieces from them to use.  You will see in another photo, Finally a decent print. Now to think about what I will do with it. This photo shows a couple of the more successful prints using the long thin poly plate. I have selected a card & some layering card & now need to put it together. The same with this one - a good print in my favourite colours & the base card & layering card selected ready to complete.   The top, largest flower has been decoupaged one level by stamping the flower on one of my practice pieces & cutting it out. A complet...

a lovely day

Image
Good afternoon everyone. Yesterday I attended a day workshop with the Happy Stampers Festival group with retailer "Crafty Roo"  Click HERE to go to their website. It was a really great day & we got to play with their poly plates, which introduced some different techniques especially backgrounds. I haven't photographed my efforts yet but thought I would show you a couple of the sample cards that we were shown to give us ideas. The poly plates & distress inks are what create these lovely backgrounds.   I managed to last the whole day, but was very tired when I got home. I hope you are all having a good weekend. More tomorrow.  'Bye for now.

my special project

Image
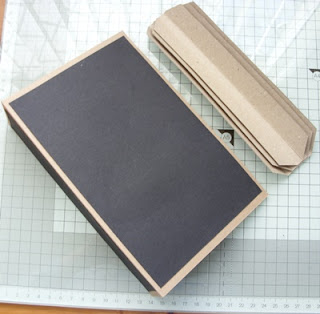
Good afternoon everyone. Today I have a selection of photos for you to see from my special project I have been working on over the last few months. As you already know we celebrated Bob's big birthday by going on a heritage day trip on a steam train the other week.  When I booked the day I knew there would be quite a lot of photo opportunities & decide I would prepare an album for them to go in as a memory book for him. Just after starting to make it I was thinking about what to actually put on the front & as I went through embossing folders & stamps I can upon the perfect answer.  It was an embossing folder & stamp set which was free with an issue of Paprcraft Essentials magazine from just before Christmas. I decided to use Kraft card & black card as it had to be masculine of course.  The Kraft card I used was in fact those large Manila file folders.  One file folder left folded & trimmed to size was perfect for a sturdy cover.  I ...